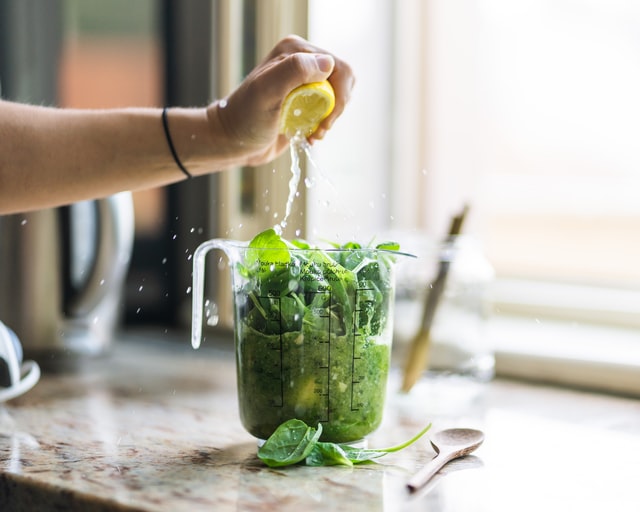
What are greens smoothies? A greens smoothie is made with healthy fruits and vegetables like spinach, kale, and lettuce. You can mix in fruits as well, and there is no right or wrong way to add in veggies. Some vegetables...
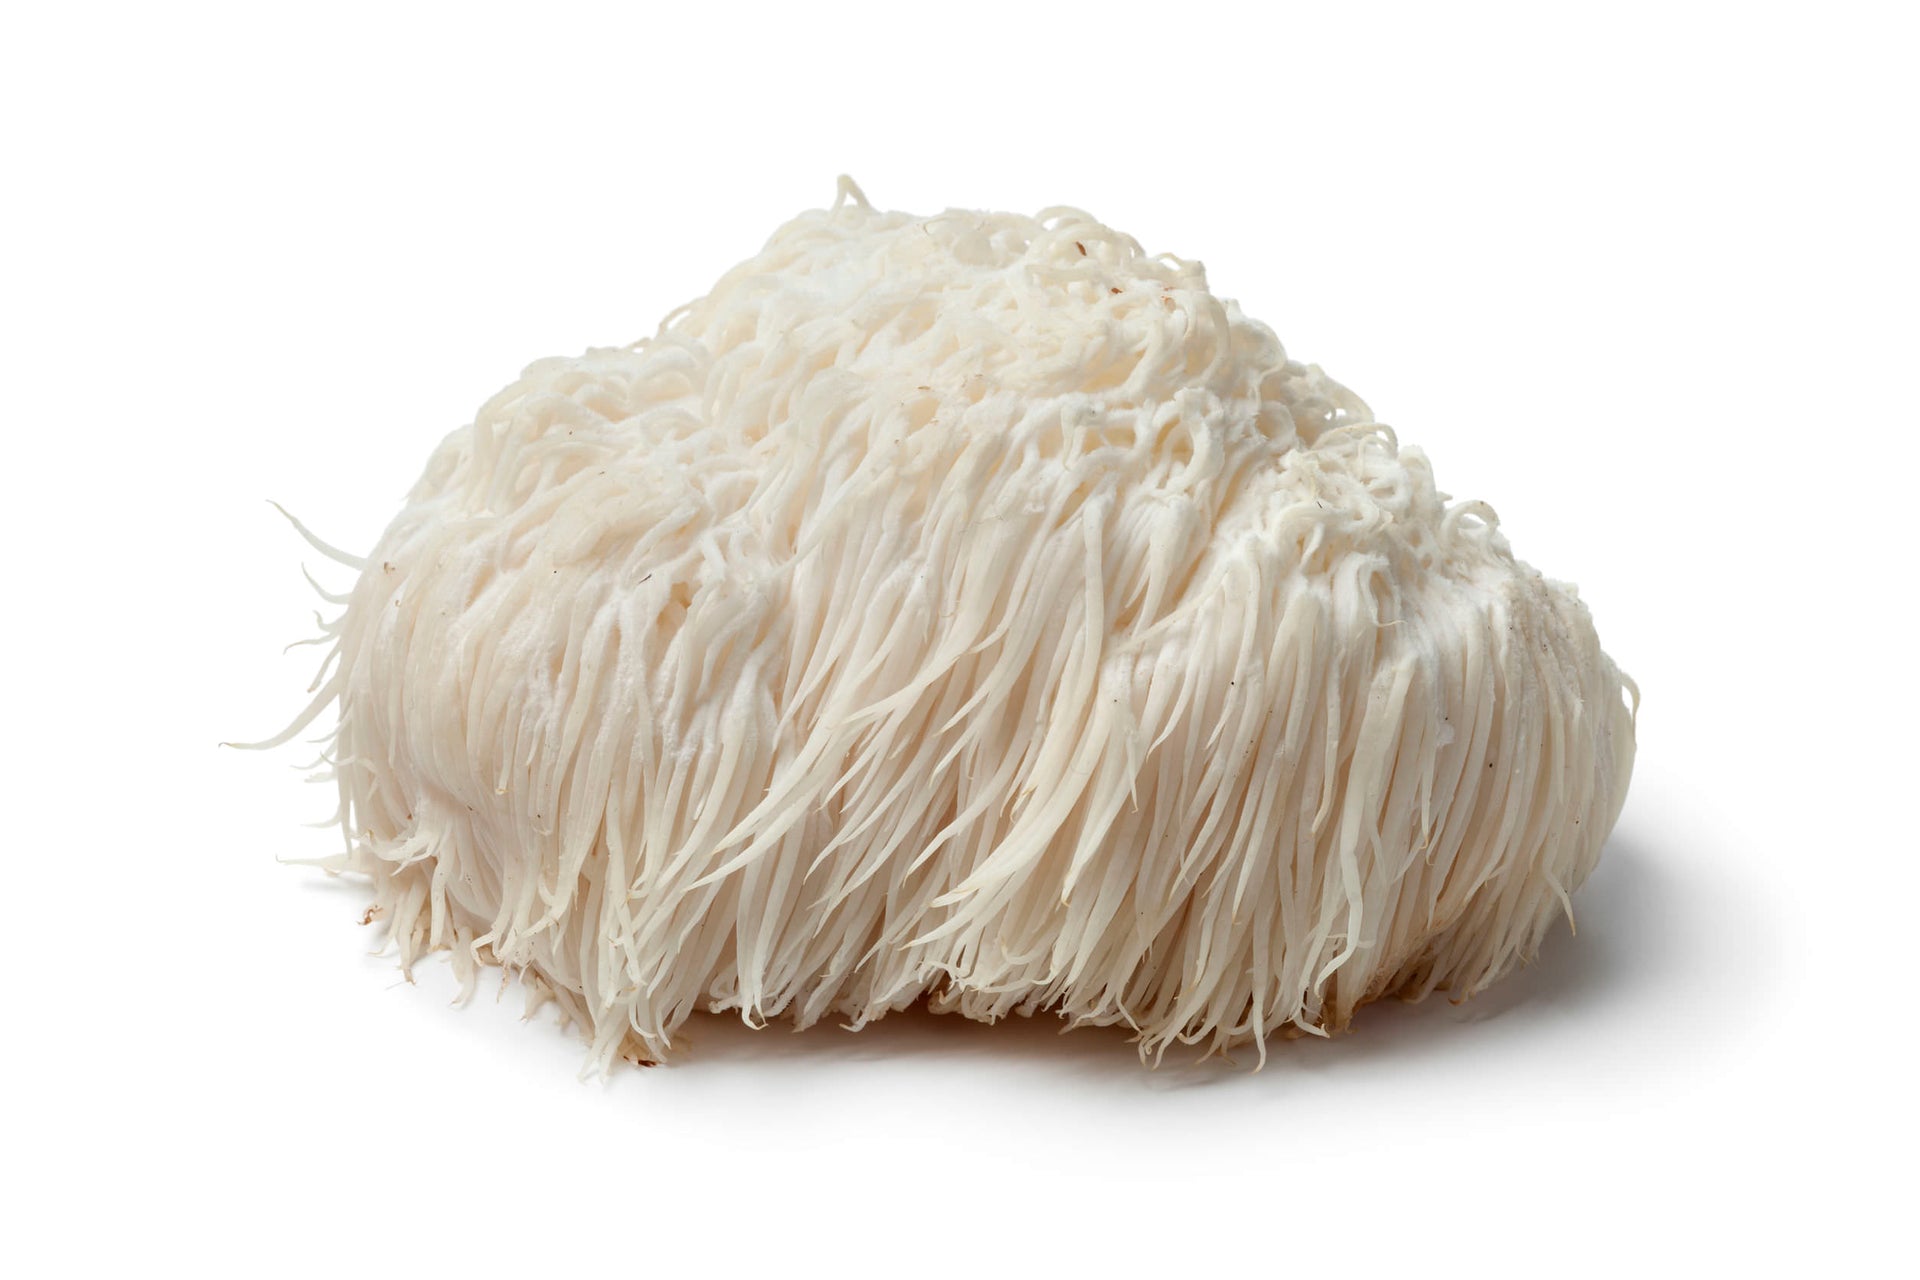
Are you looking for a delicious way to add lion's mane mushrooms to your diet? Then, the following two recipes are what you're looking for. Lion's mane mushrooms are known for their many health benefits, including boosting cognitive function and...

Bone Broth on the Paleo Diet Not only is bone broth a delicious drink, but it is also packed with health benefits. It contains collagen, vitamins, and minerals that serve as the perfect supplement for your nutrition while you are...
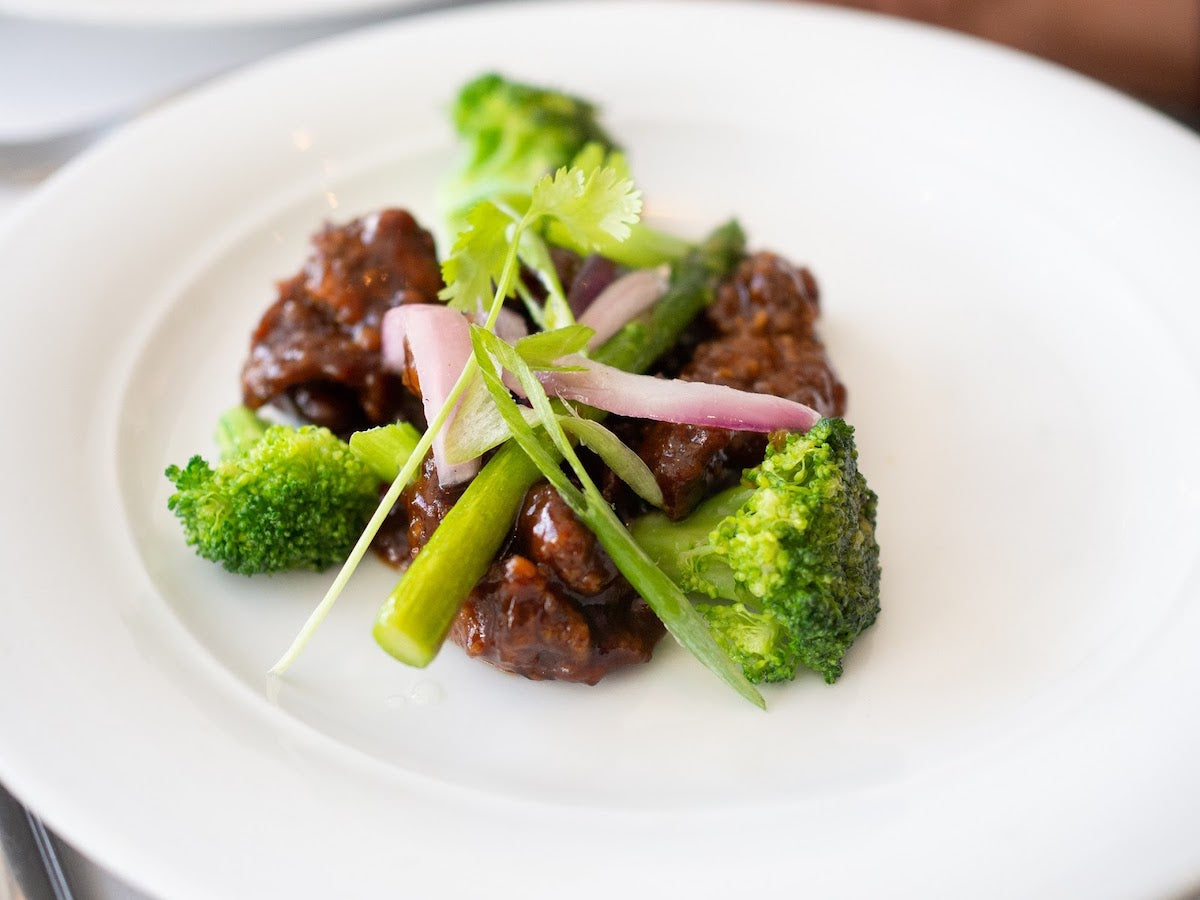
It’s the new year, and we’re presenting 4 easy ways to stick to your resolution of eating healthy in 2021. All 4 have one thing in common - the Instant Pot. This device not only speeds up cooking but also...
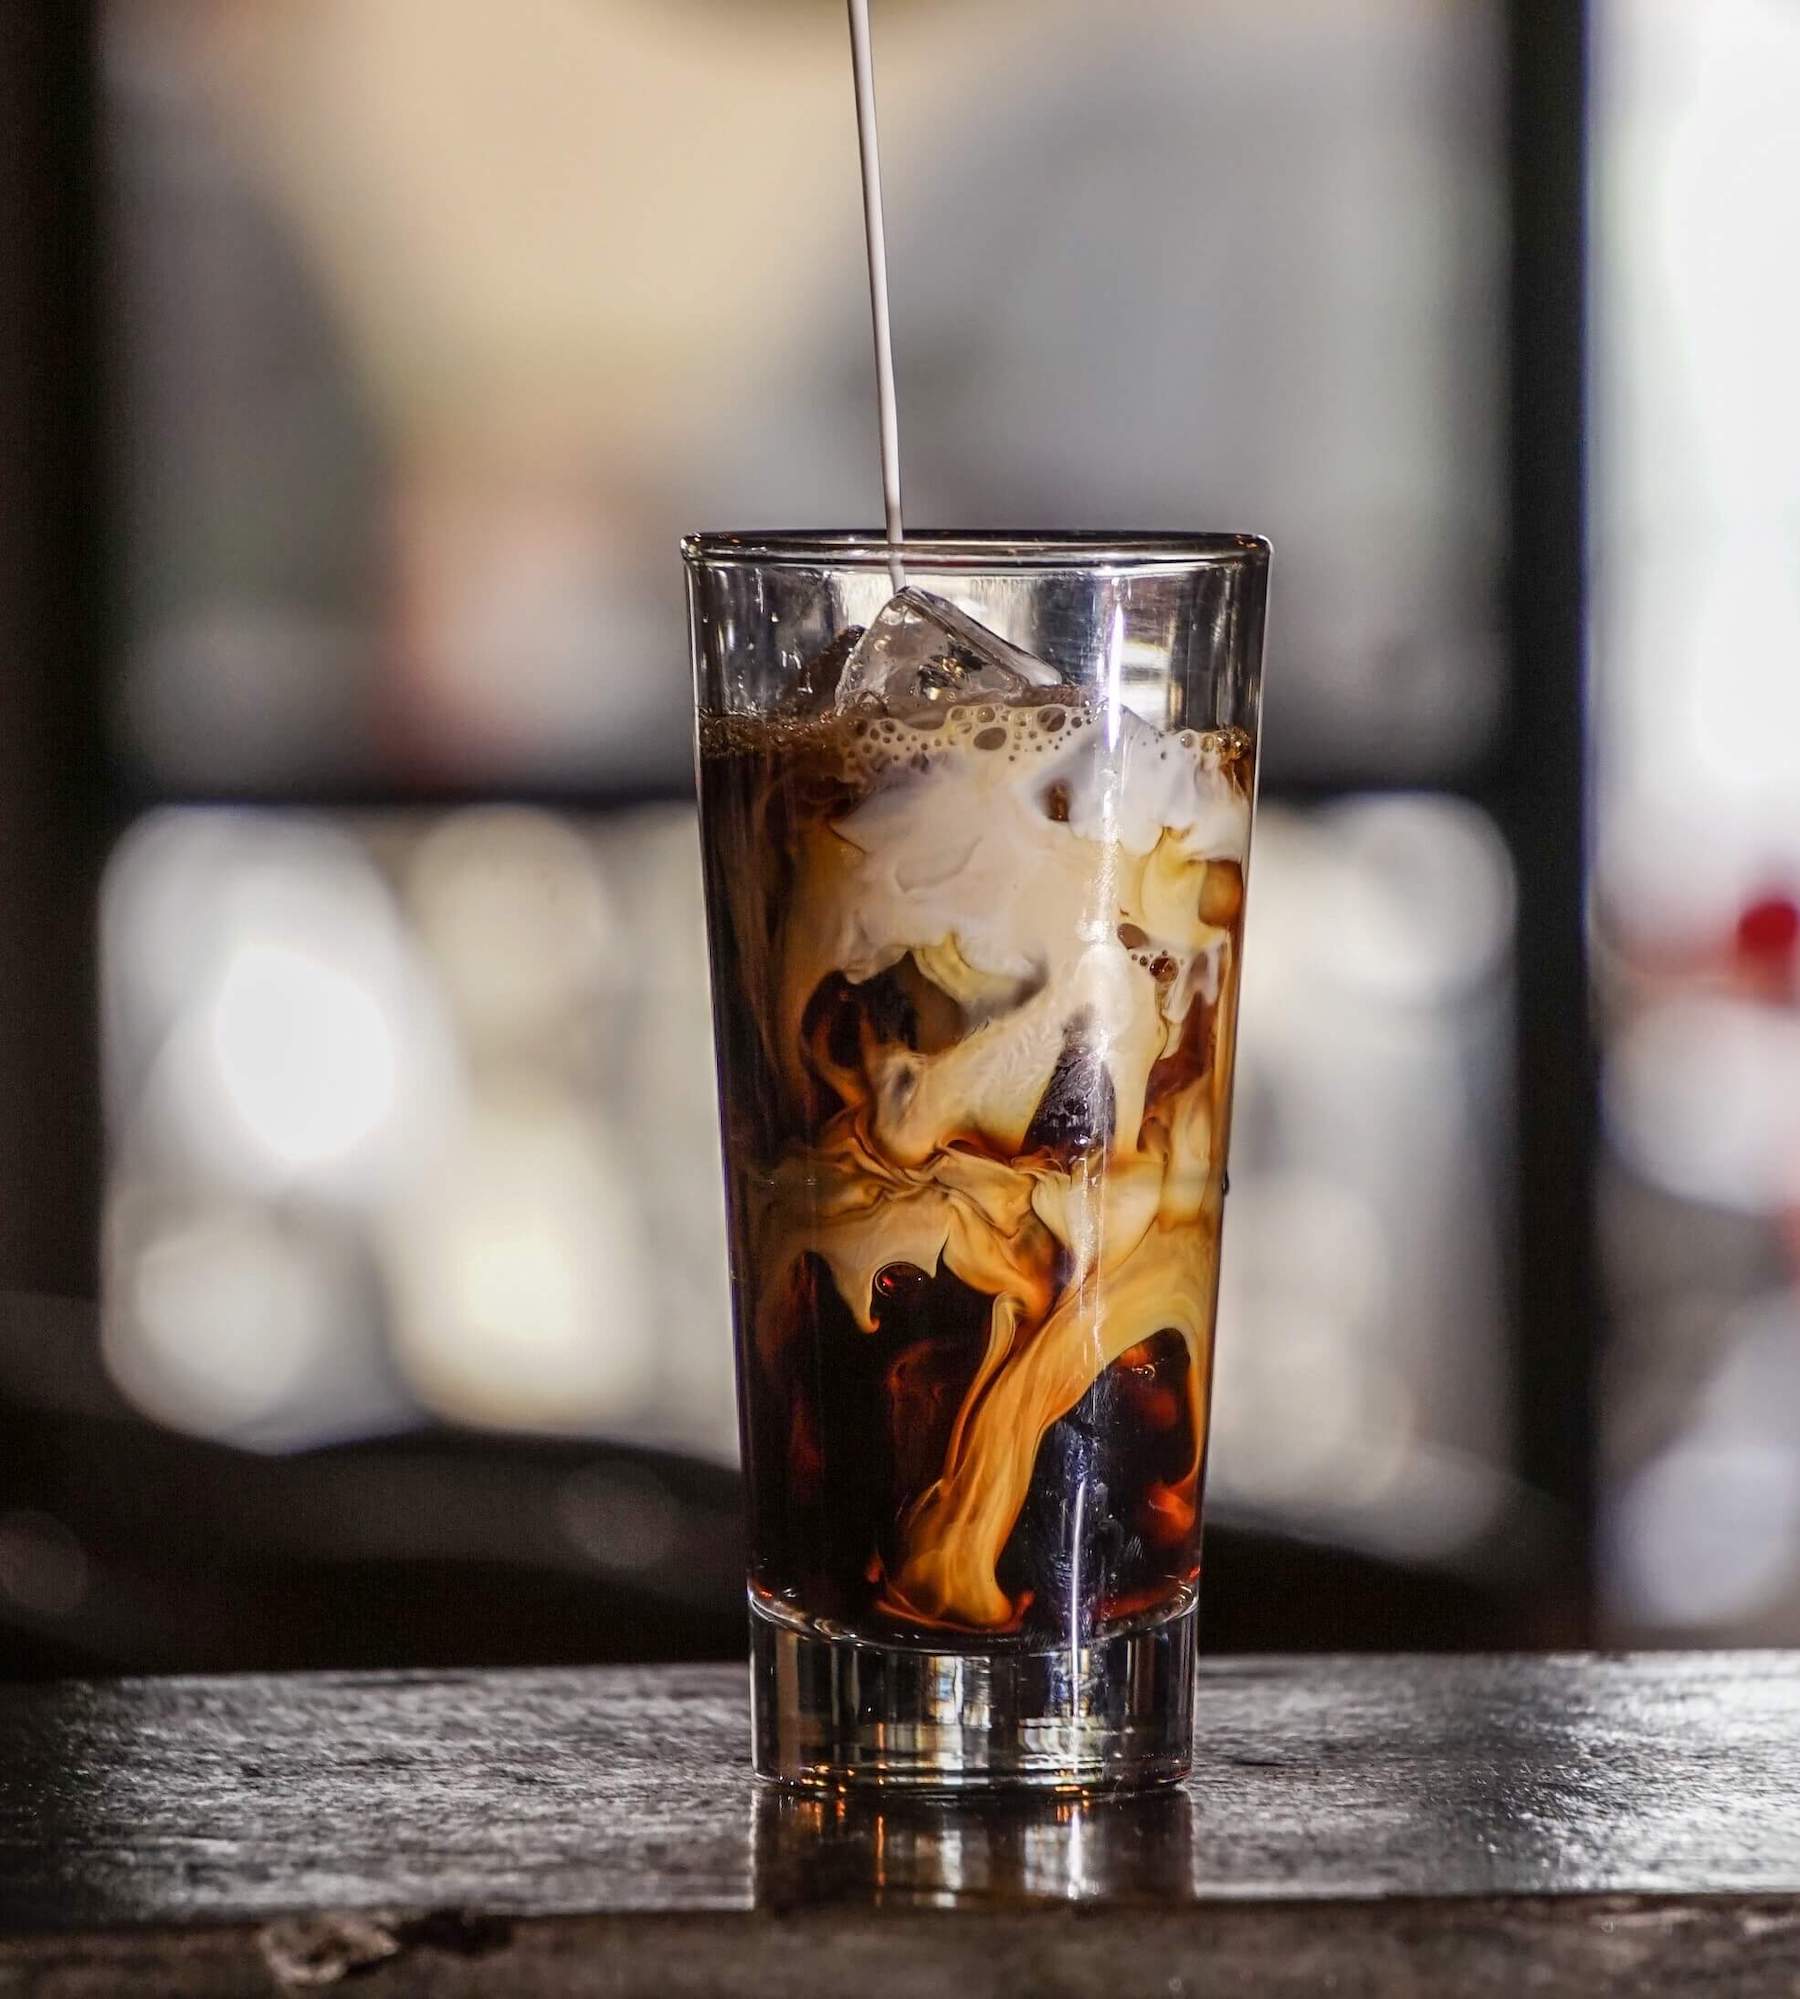
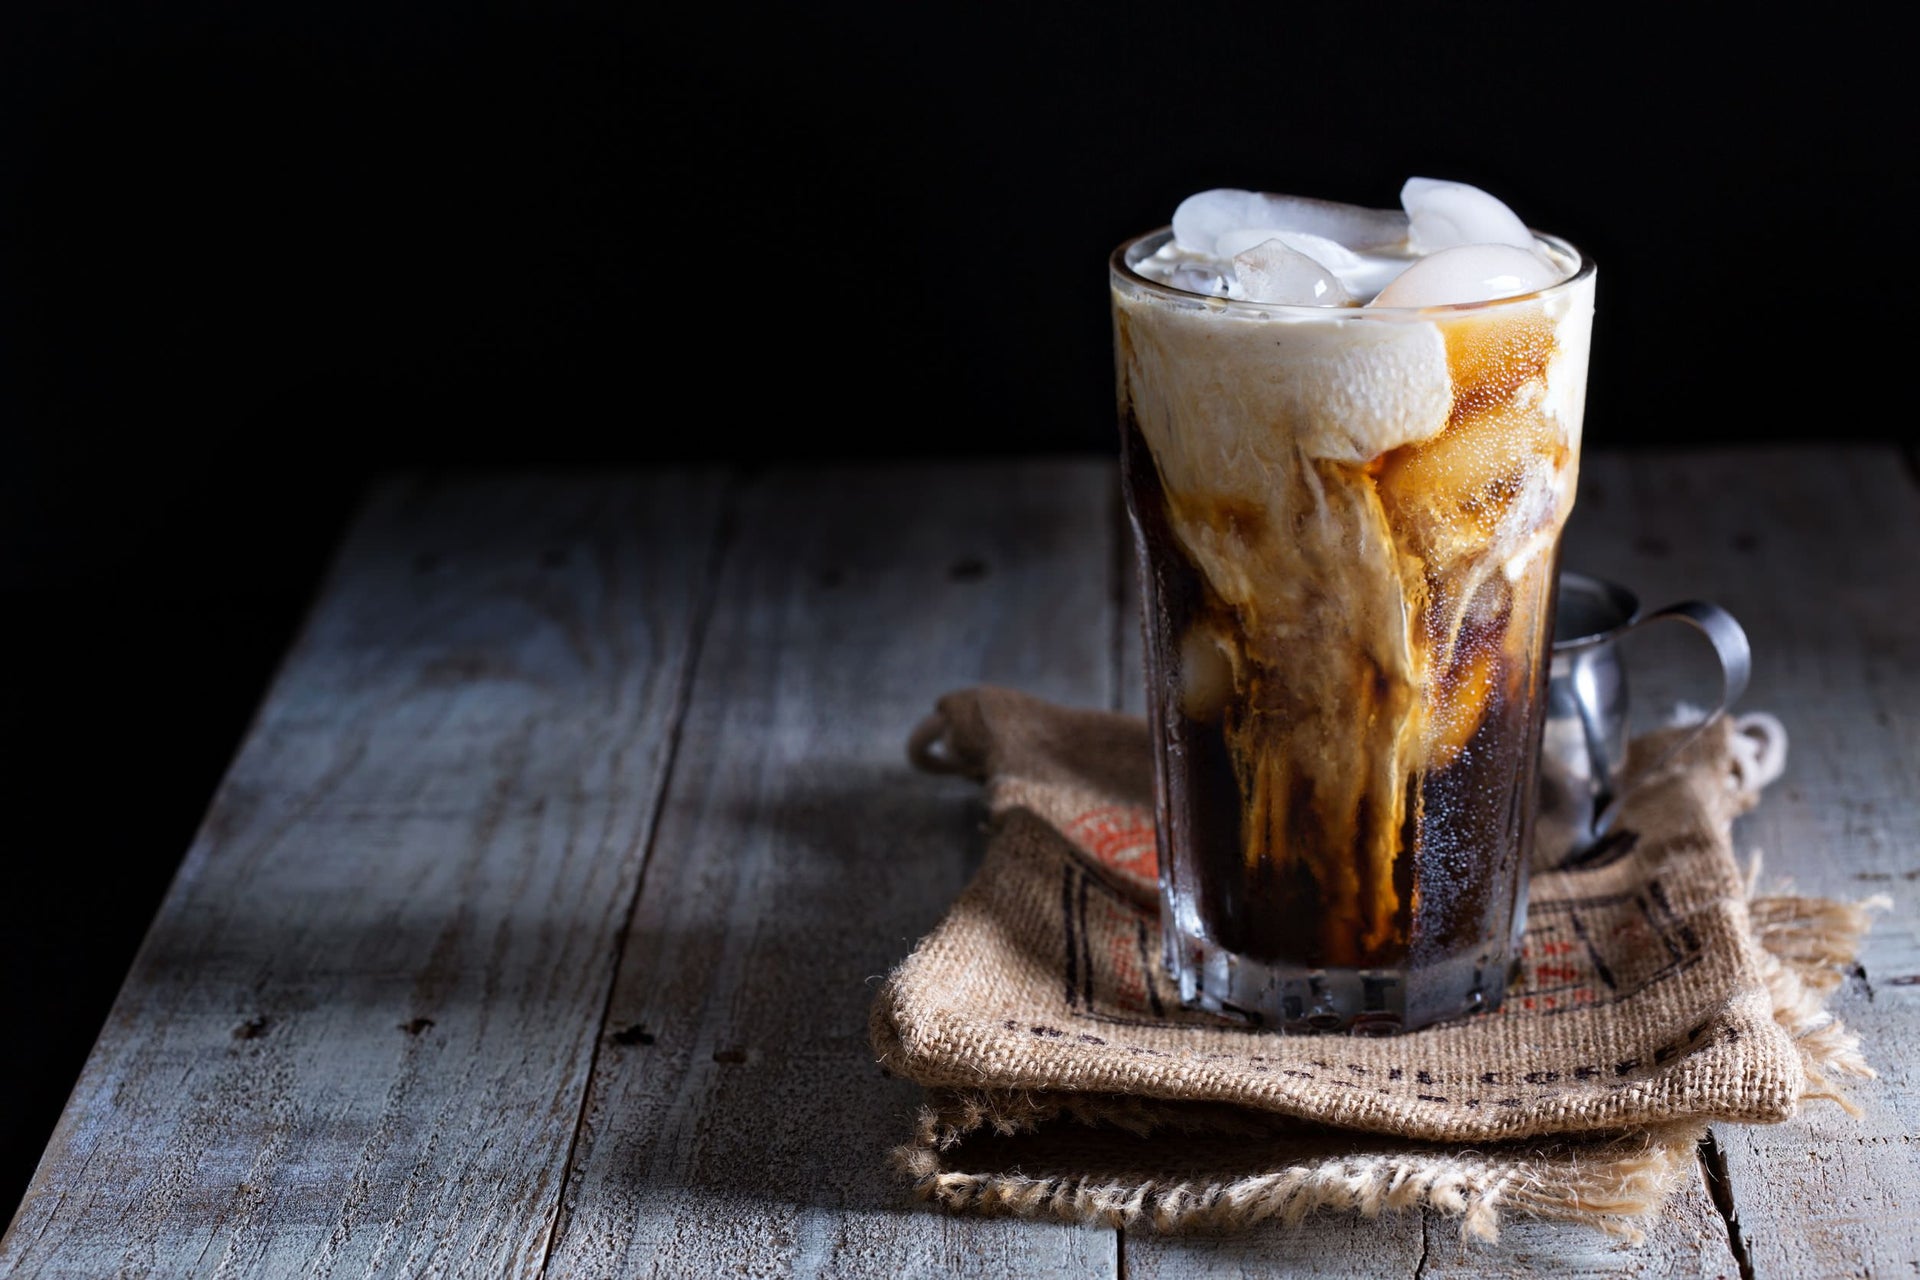
You are missing out if you don't know how fantastic cold brew coffee is. (And a great place to get your first taste is with our Wild Cold Brew brew-at-home pouches.) Cold Brew coffee is different than typical hot brewed...
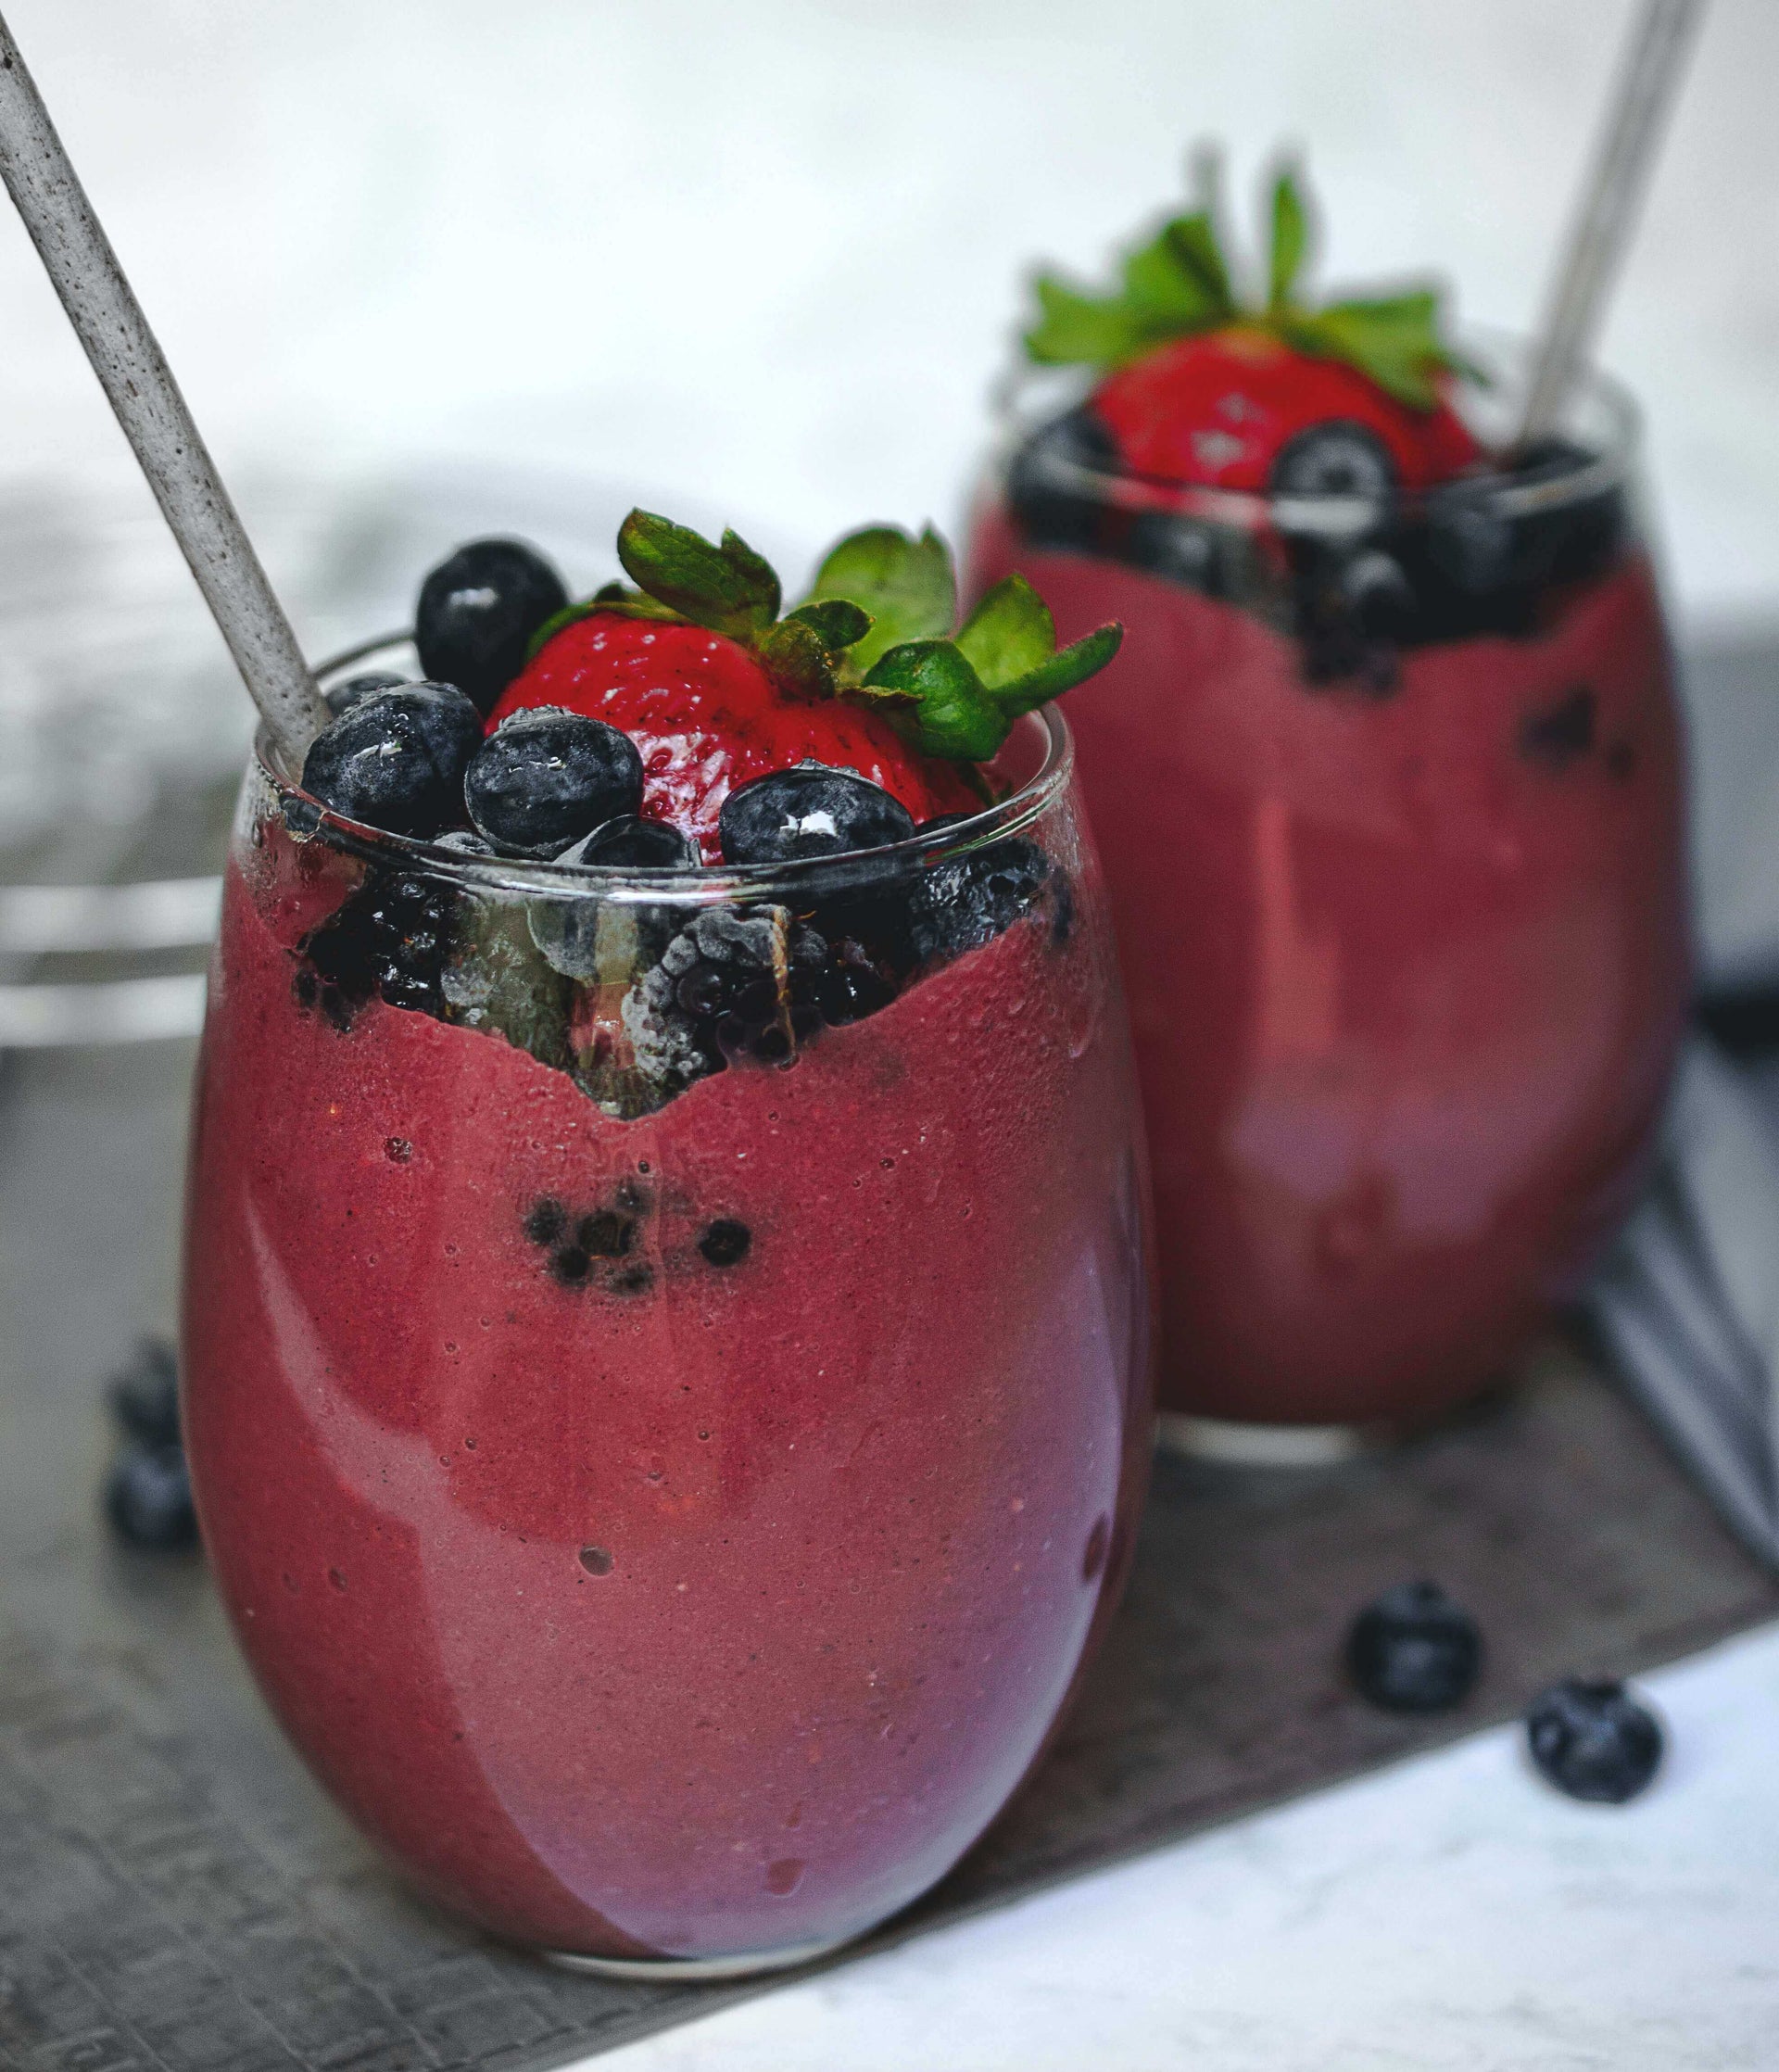
This Keto Berry Smoothie is the perfect drink to enjoy on a warm summer day! It's refreshing, flavorful, and, most importantly – low in carbs! This keto berry smoothie recipe is the perfect way to start your day! It's quick...
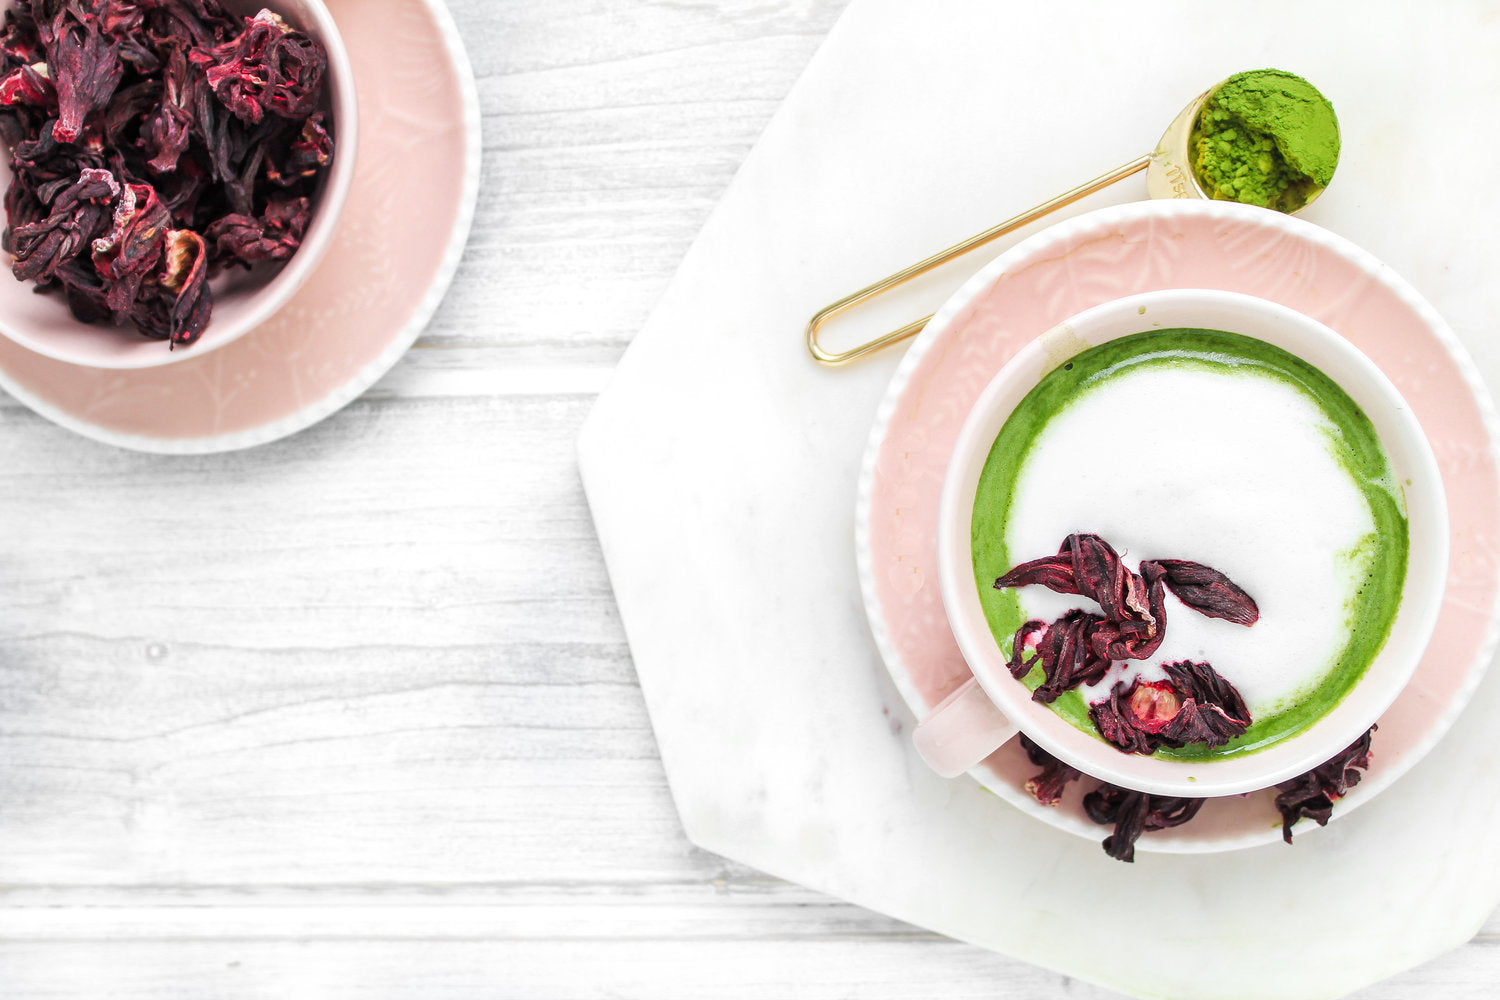
Exploring the Hibiscus Matcha Latte Recipe: A Unique Blend of Health and Flavor The Hibiscus Matcha Latte is a unique and healthy twist on the traditional matcha latte. It tastes delicious and contains a wealth of nutrients due to its...
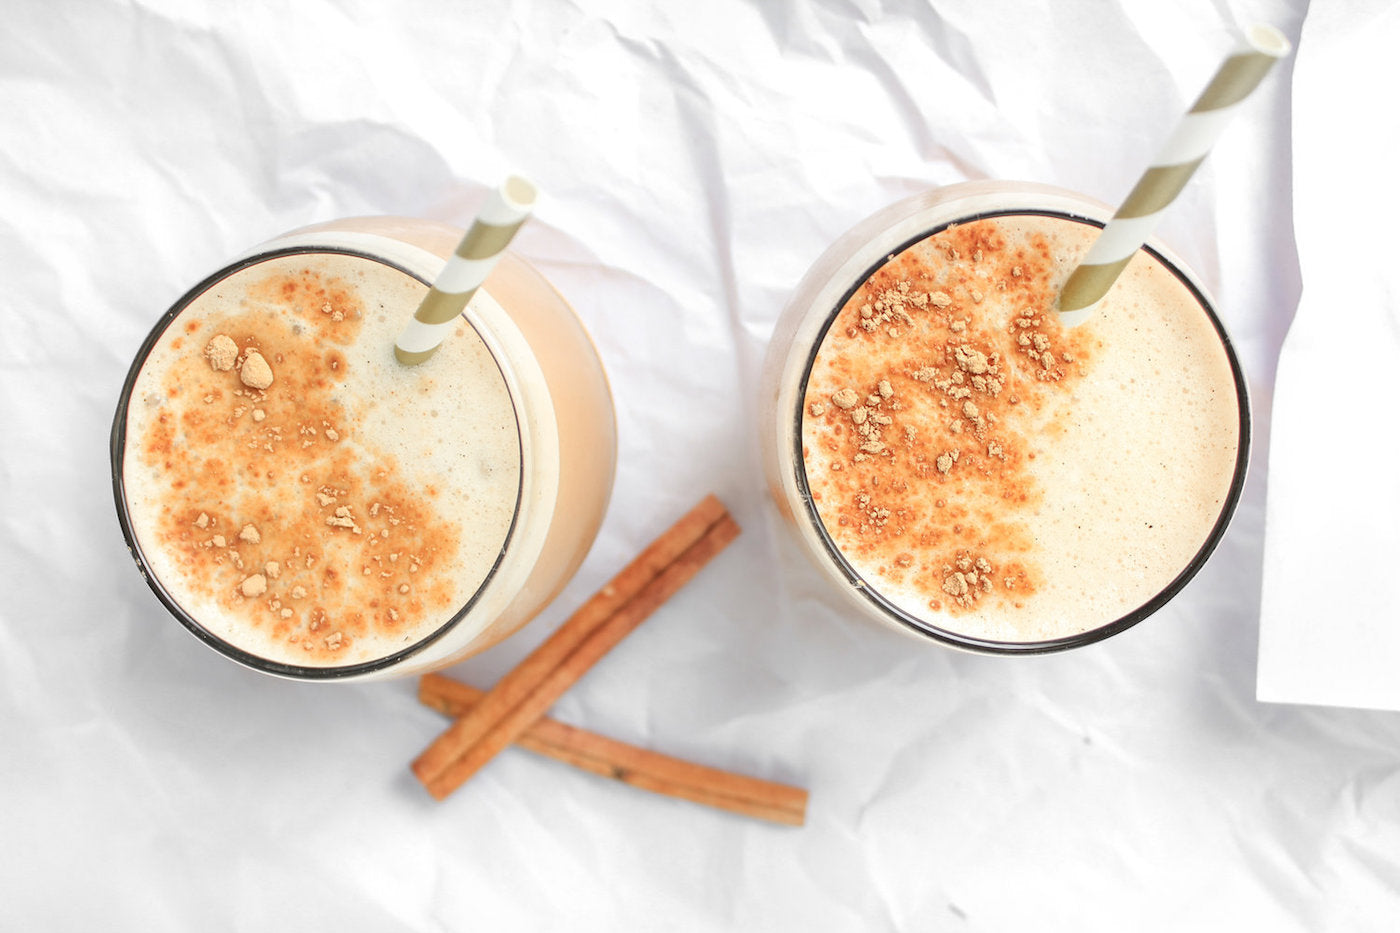
Ingredients: 2 cups Almond Milk (or any preferred milk) 1 cup Chai Concentrate 1 tbsp Wild Chocolate Powder Dash of Wild Vanilla Bean Powder 2 tsp Maple Syrup (or preferred sweetener) 1 tbsp Wild Collagen Powder (or protein powder) Recipe: Steep 1 Tbsp Chai...
A delicious way to start the day. This uses our plant-based butter/creamer option Wild Cocoa Butter to make for a frothy and delicious dairy-free coffee drink! Ingredients: Wild Sidamo Coffee 1/3 cup Wild Cocoa Butter 1 tsp Wild CocoTropic Chocolate Nootropic Dash...
